
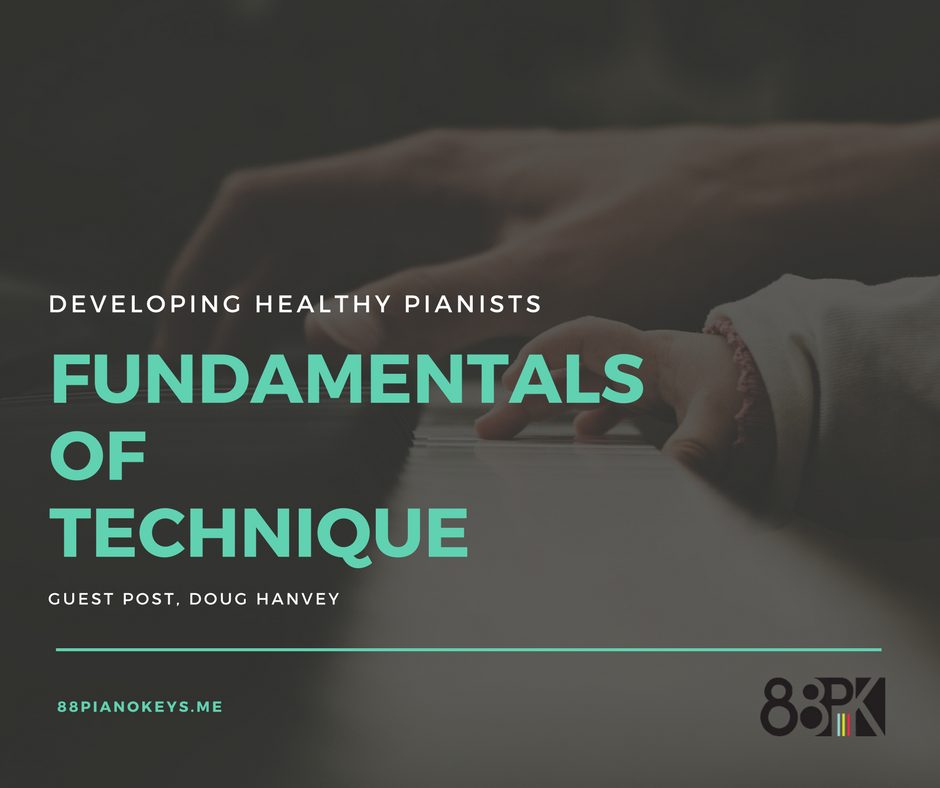
Technique Fundamentals According to the Taubman Approach
Do you find your students suffering from an ongoing case of "knuckle buckle?" Do their wrists sag and creep into the "snake pit?" My students suffer from the same issues, too.Playing the piano with a healthy technique is a prerequisite to becoming a capable (and of course, creative and tech-savvy!) pianist but, it's not always an easy topic to explain to youngsters. I'm always looking for ways to communicate technical tips that will connect with and motivate students to play with ease and efficiency.
Today's guest blogger, Doug Hanvey, has been immersed in Dorothy Taubman's approach--a highly respected legend in the field of technique. In fact, The Golandsky Institute continues to share Taubman's insight and brilliance with musicians from all over the world looking to improve their technique or heal from injuries resulting from poor technique.
Doug's article explains what technique really is and the fundamentals for you to share with your students. Ms Taubman's approach is golden so make sure to build the foundation of your technical approach around it.
Look for a followup article from me on how to model and explain these principles with concrete tips and tools very soon! You'll gain ideas for implementing the fundamentals below and gather remedies for knuckle buckle, sagging wrists and ways to encourage the use of weight vs force.
Thank you, Doug, for your clear and thorough explanation of the fundamentals!
-Leila
What is Piano Technique?
Many piano students, and some piano teachers, think of technique as a tedious, even grim, subject. We all want to focus on music-making. Yet to the extent that the mechanics of how we make music go unexplored and undiscussed, we risk allowing our students (and ourselves) to develop poor and potentially injurious habits.
Many teachers think that Hanon and similar exercises are "technique." Nothing could be further from the truth. Hanon exercises are just that – exercises.
Technique is how we position ourselves and move to play, and it should be taught prior to exercises. (Of course there are other important aspects of technique such as breathing and listening.) Playing piano without understanding good technique is no different than playing golf without knowing how to grip and swing the club. Good luck!
Fortunately, unlike Hanon (sorry, Hanon), technique needn't be tedious or grim. I've found that technique can be an absorbing subject, especially when you experience how it helps you to play better and with greater ease.
While as teachers we often have the opportunity to teach good technique from the beginning, sometimes we must also "fix" students' technique. Whether we are starting or "fixing," good technique begins with knowing how to optimally position your body at your instrument.
The rest of this article will explore this topic from the viewpoint of the famous pedagogue Dorothy Taubman.
Technique Fundamentals: Posture and Positioning
Dorothy Taubman's approach to technique was based on her extensive study and analysis of virtuoso technique, with the goal of helping her students acquire such a technique. (Only coincidentally did she later realize that her approach helped students to heal from playing injuries.)
According to Taubman, the following are elements of optimal posture and positioning, the basis of good technique:
Sitting Height
The optimal sitting height keeps the forearms roughly parallel to the floor, with the elbows on the same plane as the top of the white keys or slightly higher. If you sit too low, arm weight falls into your elbow, reducing your mechanical advantage for playing.
Teachers without an adjustable bench may want to invest in small, firm mats that can be stacked as needed to match every student.
Sitting Distance
The elbows should be slightly in front of the torso when your hands are on the keys. Don't sit so far back that you need to stretch your arm forward to reach the keys. To allow free movement from the hip joint, sit on the front half of the bench, but not so far forward that you feel "perched."
Posture
Don't be rigid in your posture, but rather be "easy and alert." The most important factor for good posture is balance. If you feel like it takes a lot of effort to sit up straight, you may not be in balance. When you are balanced, whether standing or sitting, the skeleton supports your posture with minimal effort.
Alignment of Arm, Wrist and Hand
With your arms hanging at your side, notice that the forearm, wrist and hand have a natural, easy alignment. The fingers curve naturally, without any effort. Bring this natural, easy position to the keyboard.
The Wrist
The wrist should be level with the hand and arm without any sense of weight falling into it. If you sense weight falling into the wrist, lift it slightly and "balance forward" (see below).
Also avoid twisted (or deviated) wrists. Twisting is when the wrist is turned to the left or right (often chronically). Most commonly, players will twist their hands towards the pinky (called "ulnar deviation") in order to get the thumb closer to the keys. As a chronic position this can be very hard on the tendons. Obviously, while we must occasionally twist the wrists one way or the other while playing, when possible twisted wrists should be avoided.
The Knuckles
When your hands are on the keyboard, the knuckles should be visible like a little mountain range, as they are when your arm is hanging at your side. Avoid "collapsed" knuckles.
The Fingers
The fingers should be naturally and effortlessly curved, but not curled. Curling is when the bottom knuckles of the fingers are pulled towards the palm via muscular contraction.
Also avoid stretched fingers. Stretching is when the fingers are pulled apart from each other. Surprisingly, a five-finger position is for most players a stretched position! A truly non-stretched position encompasses four white keys or fewer.
The Thumbs
Avoid sagging thumbs. Sagging is when your thumb falls below the position it's in when your arm is relaxed at your side. At the keyboard, a sagging thumb falls below the tops of the white keys, meaning it has to (inefficiently) travel up before it can play.
The Feet
If a piece doesn't require pedaling, rest your feet flat on the floor. If it does require pedaling, rest the ball of your right foot on the damper pedal, with your heel on the floor.
Balance Forward
When one or more keys are depressed, the weight of the arm should be distributed into the keys, without the sense of any weight falling into the wrist. If it is, slightly curve the hand forward (without curling the fingers) so that the weight of the arm is better balanced over the fingertips on depressed keys.
I hope these tips are helpful for you and your students! -Doug Hanvey

Doug Hanvey
teacher, author and composer
Doug Hanvey is a piano teacher in Portland, OR. Doug studied music and education and worked as a vocal accompanist at Indiana University Bloomington. He is the author of the soon-to-be-published TheCreative Keyboardist and the composer of hundreds of piano pieces and the score of a full-length musical. He is a member of the Oregon Music Teachers Association.